Small update

So, was able to make some progress this last weekend. A little less than I would have liked, but progress nonetheless.

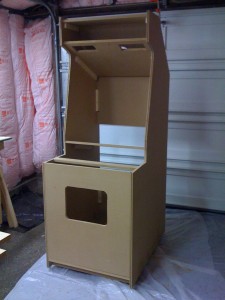
First off, here is the pic of the marquee issue I described before. Ended up buying some black foam insulation tape on a whim at home depot but think it might be too thick. I will do some searching for thinner stuff online for the next time I go down.


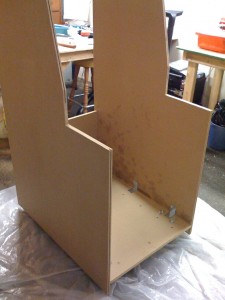
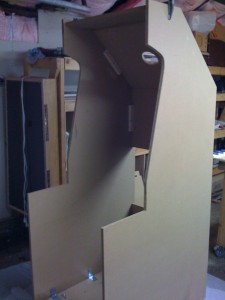
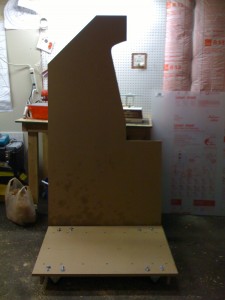
Got my shelf brackets mounted.

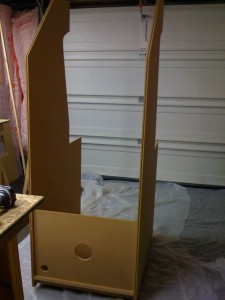
Cut a hole for my DataPro USB cover.

Tried to improve air flow by cutting some holes in the back of the speaker shelf.

Got the control panel glued together. These pics are before I went to town sanding it down however, it nearly looks like one piece of wood in some places now.

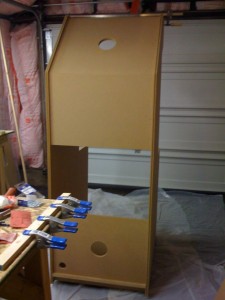
Got my back door installed with hinge, magnetic door stop and cool chrome handle.


Also got the front door hinged and installed. Sadly was not able to get the surface bolt mounted before I had to leave.

So what is left to do? Finish installing the surface bolt and sanding the control panel and cabinet. Cutting the holes for the primary and secondary control panels, mounting them and hinging the primary. Fixing screw holes with Bondo, sanding and then finally painting. I am guessing (hoping) this takes me a couple more weekends or maybe 1 more long stay. After that, it should hopefully be all wiring and electrical.

The long drive

After a roughly 7.5 hour drive (!!) from Seattle to Vancouver, WA before Christmas I found the 2nd time around was not as productive as I had hoped. While I was able to get a majority of the cabinet put together, by the end of my time off I still had more things to do and painting hadn’t even started yet. I can definitely see how these projects can take people much longer than they expected.  Smiley

Pics might appear complete, but still need to attach some shelf brackets to support the monitor shelf, install hinges for both the front coin door and an additional door I cut for the back and get started actually putting the controller panel together (pieces are already cut).

One thing I will need to figure out is how to brace this thing to become better aligned. Due to the ground in the garage I am building this not being entirely level I think the sides of my cabinet ended up slightly off. The problem this is causing is that my front coin door is not fitting exactly. It would fine if I could just screw it into the sides and force it to fit, but with it needing to hinge it will have to be braced some other way. I tried to do this slightly with the piece below the control panel, but that didn’t really work.

I also encountered a problem cutting my lexan marquee, where I overcompensated on making the width slightly small so that it would have an easier time fitting into the cabinet. There is currently a roughly 1/16″ or so gap on each side of the marquee, which I assume will be pretty noticeable with a bright light shining from behind it. Was kind of my kicking myself about that one, but was thinking some sort of thin black rubber on the either side might provide a good tight fit. I have no idea where the best place to get a piece of thin rubber like that would be acquired, or if another method might work better.

So overall, it was a productive holiday, but I think it is going to take 2-3 weekend trips to actually finish off the woodworking portion of this project. Pics are below…

Partial Update

So made some actual progress the last couple weeks, but sadly not as much as I would have liked. I had wanted to have it assembled and painted by last Wednesday so that it could be transported, but all that got finished was the cutting and a small bit of the bottom assembly. The cutting went pretty good, only a couple pieces were cut incorrectly at first.  😉 There are few things I hadn’t planned for, but I think it should (hopefully) work out in the end.

Since I am back in Seattle however I no longer have access to these pieces and won’t be able to make it back down to finish work till mid-December. I am planning to take enough vacation to finish assembly and painting during this time, at which point I will just need to get it moved.

Overall it is probably good that I did not attempt to get it all finished, as I had sort of neglected how I was going to paint it till late in the process. I want to get as smooth as a finish as I can, but don’t have access to a paint sprayer, so I have been reading up on the best way to do this using rollers. Despite taking a long time to dry, it sounds like oil based paints get the best results and that with MDF you need a couple good coats of primer, sanded in between, to develop a good base to paint on. I also read that a 30/70 ratio of glue to water is a good replacement for primer, but the use of water on MDF has me a little concerned.

Beyond figuring that out I guess it will just a little longer to wait. I have been planning this thing since last January, so I suppose an extra couple weeks will not kill me.  🙂

The next update

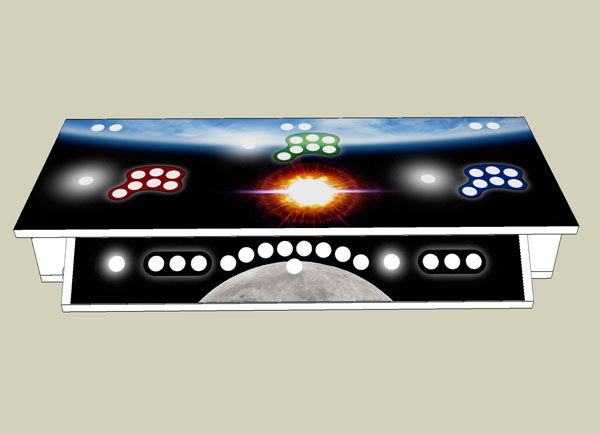
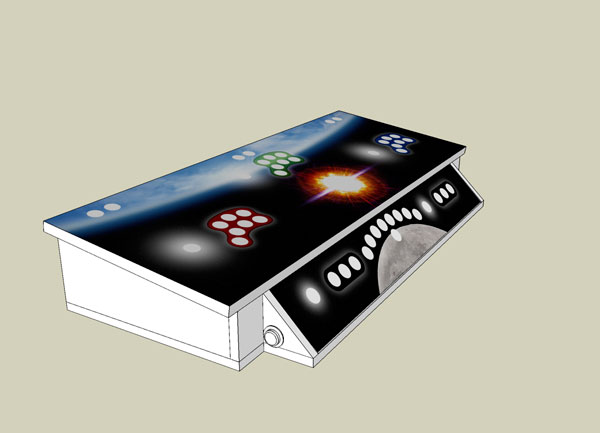
Wow, long time. Anyway, have finally got around to doing some more work on this project. First, I have finalized my control panel design and artwork, which you can see below.


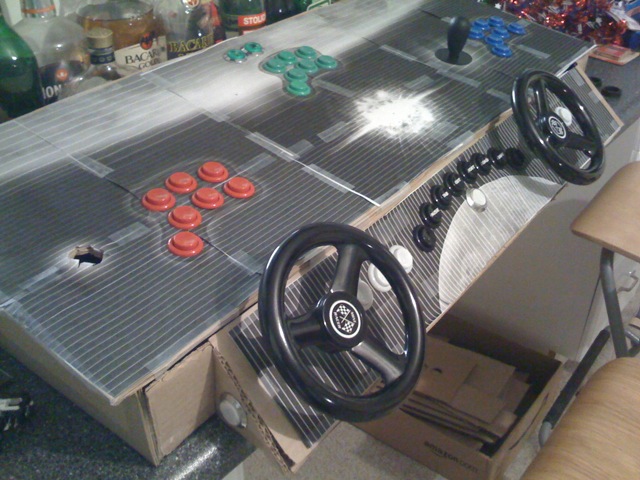
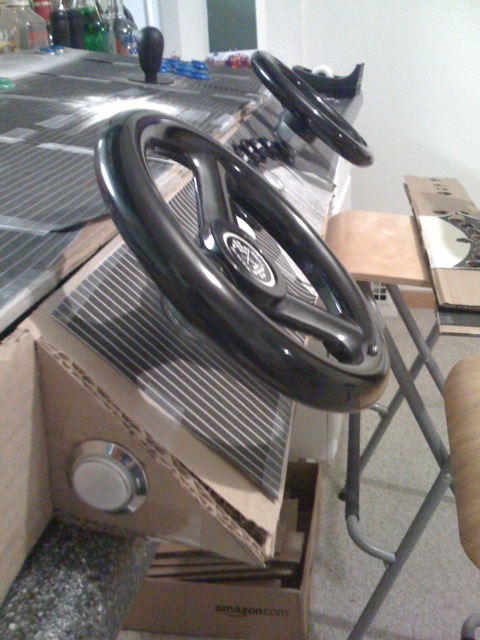
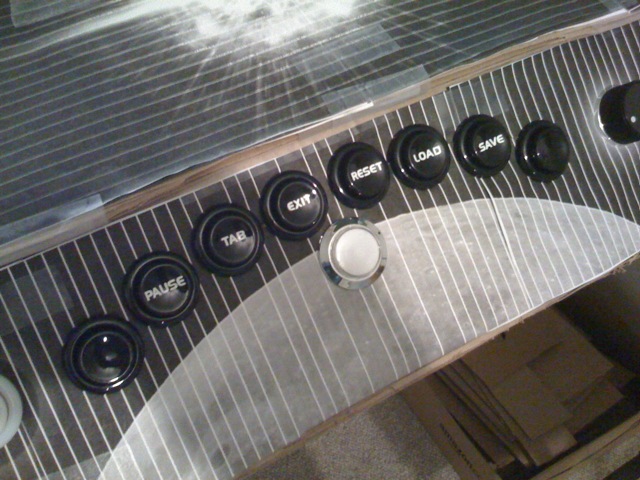
It is pretty similar to what I had planned, except that I will now be incorporating artwork (placed under lexan) on my lower panel. The reason for the slant is to provide a better angle for driving games using the 7″ mini racer wheels along with the dual TurboTwist2 spinners. Also have incorporated lighted buttons on the sides of this lower panel for limited use in pinball and such. The buttons in the center surrounding the image of the moon will serve various admin functions in MAME.

The top of the panel still has the 3 players (2 Happ 8 ways and 1 UltraStik), along with the U-Trak trackball with RGB lighting.

Mostly what was finalized was the artwork and placement of the buttons and sticks. I finally broke down and purchased some super high resolution artwork, so the design should hopefully look really good. The overall theme has sort of merged into the sun (the lighted trackball) going supernova and the player is seeing this from a little behind earth and the moon.

Also finished up the marquee, which now has a solar eclipse with a few more rays coming off it. Again, high resolution images, so I am hoping for the best.

So after designing this thing I thought it might be a good idea to do another mock-up. This time it was actually to scale (or as best as I could make it) and included the artwork I created so I could test button spacing. I didn’t make it functional, but it made me confident enough in my design to go ahead and get my artwork printed and to continue with the construction.


So what’s next? The week after next I will be heading to my hometown where I will be using a pretty good wood shop and the help of one my moms friends to help get this thing cut. After that I will be using the 3 full days or so before Thanksgiving to try to get the pieces assembled and painted. Assuming everything goes to plan, after that it will be back to Seattle where I will start on wiring and getting it set-up…

The first update

Some pictures of the current status of the project, please excuse the crappy quality iPhone pictures, I will be sure to switch to a real camera when it actually gets going.

This was my first mock-up, made when all I had was my Ultimarc and GGG order. Was able to verify everything worked at least, despite it looking like a Hellcade candidate.

Again, this project will be including dual Mini Racers for games like Sprint and Off Road, among others. I am actually looking forward to getting APB going however when everything is completely assembled.

The lovely Happ coin door with colored reject buttons.

The new mock-up, with current rough tests for how I plan to place the spinners. Again, please excuse the terribleness of this, am still figuring out how I want everything placed.

The Ultimarc U-Trak Pearl, no mounting plates on this control panel…

TurboTwist with GGG buttons.

The TV currently planning to be used. Regrettably the 27″ Happ bezel I purchased does not fit, so I need to decide if I want to de-case the TV, or sell the Happ bezel and make a new one.

It does have component input however.

That’s all for now. Nothing incredibly new and exciting going on with this project, but I’ll keep you posted anyway. 🙂